There are lots of reasons to enter a project into your Ravelry notebook – to keep track of information for yourself, to add notes to help others, to bask in your accomplishment, and to have it recognized by others. One of the ways others can compliment your work is by marking it as a favorite, which puts a little heart on it. I know I’m not the only one who finds those hearts exciting, so today’s post is about how to acquire them.
Basics
One of the most common ways for a Raveler to see your project is to see it when researching a pattern, on a project gallery page like this. These basic steps ensure your project will be seen on those pages. (Here’s a great post on adding a project, if you want to review that.)
- Link your project to the pattern. When you enter a project, if you used a pattern make sure to enter it in the pattern name field and click the link icon to choose the correct one to link. This will ensure your project shows up on the project gallery page.
- Enter an end date for the project. The default sort for projects on these pages is end date, and projects without one are sorted last. The first few pages of a project gallery are the most visited, so make sure you don’t miss your time in the front.
- Upload photos. We only show projects with photos when you first visit a project gallery page. To see photoless projects you have to specifically choose that filter. We’ve also noticed that projects with photos have more hearts on average; Ravelers are more likely to favorite a project they can see. (Photo uploading blog posts here and here.)
Make It Searchable
The project gallery isn’t the only way a fellow Raveler might stumble across your project, it might come up in our projects advanced search. Here are some ways to make sure your project shows up in appropriate searches.
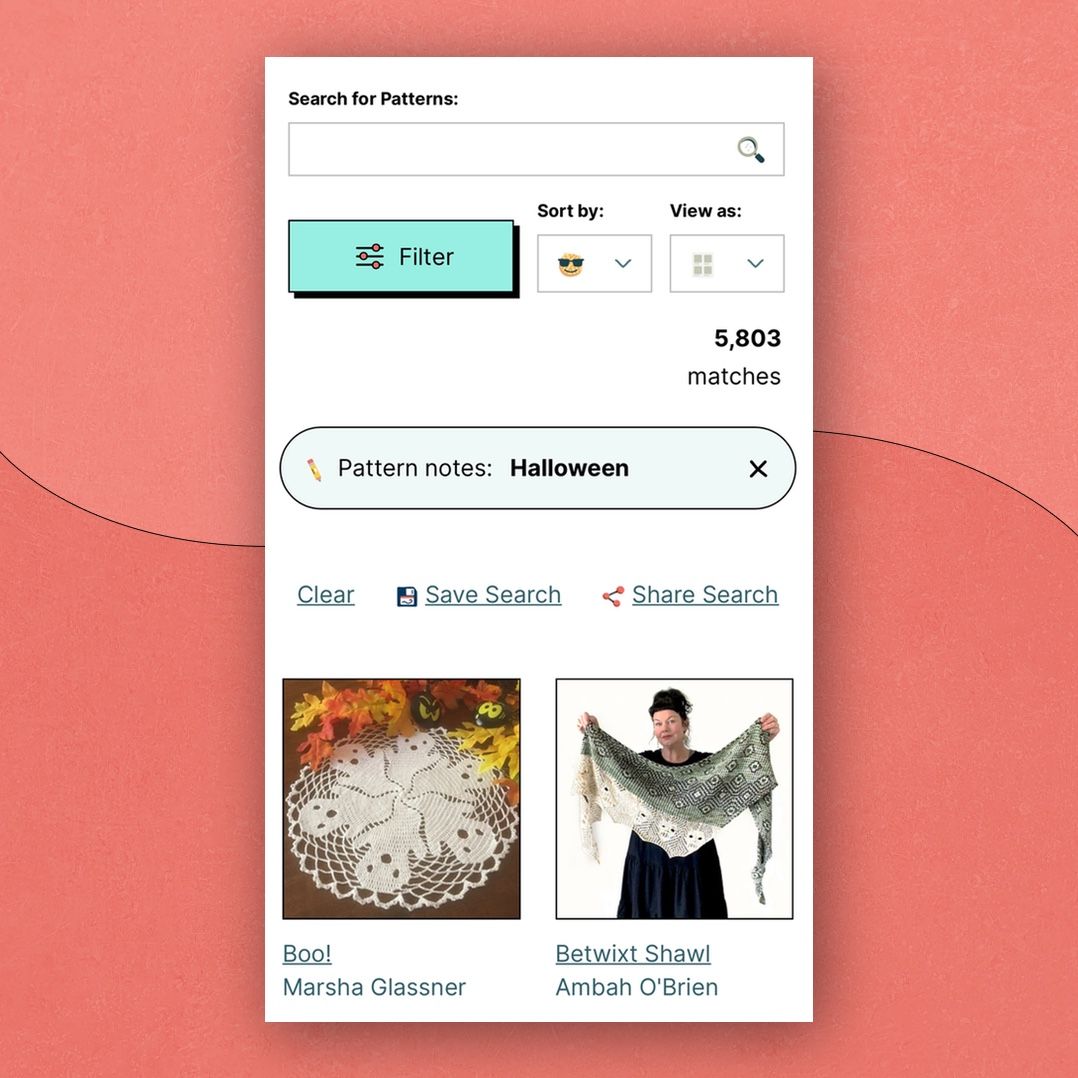
- Use the title, notes, and tag fields. When searchers enter free text into the search box, those fields are among those searched. I’ve used search terms like the name of a favorite TV show to find fan projects, techniques to find example projects, and holidays to find seasonal projects. (And here’s a blog post on helpful pattern notes.)
- If your project isn’t from a pattern, add a pattern category to it using that field on the project page. This allows your project to show up when a category search filter is used.
- Fill out your yarn info. The specific yarn used, yardage, and color family of the stash entry are all searchable fields that can pull up your project if that information is entered.
- Fill out the project page as much as you can. The following fields on your project page are all searchable: needle/hook size, colorway name, start date, finish date, pattern rating, project status, and project happiness.
Make It Seen
The final recommendations for getting hearts are all about getting your project seen, both on Ravelry and off.
- Share your project with relevant groups. You can share your projects with groups, and they’ll show up on the group projects tab (like this). Note that many groups have rules about what projects can be shared, look out for and follow these. Many groups also have FO threads where you can post about your project. I often share my FOs in the relevant threads in the groups for the yarnie and the designer.
- Make your project public. You can use the share this button on your project page to make it visible only to other Ravelers, to those with a link, or to the public. If you make it public you can link your project across the web using a handy short link and non-Ravelers will be able to view it (only members can give hearts, though).
I hope these help you get all the hearts you desire! Happy Raveling!


