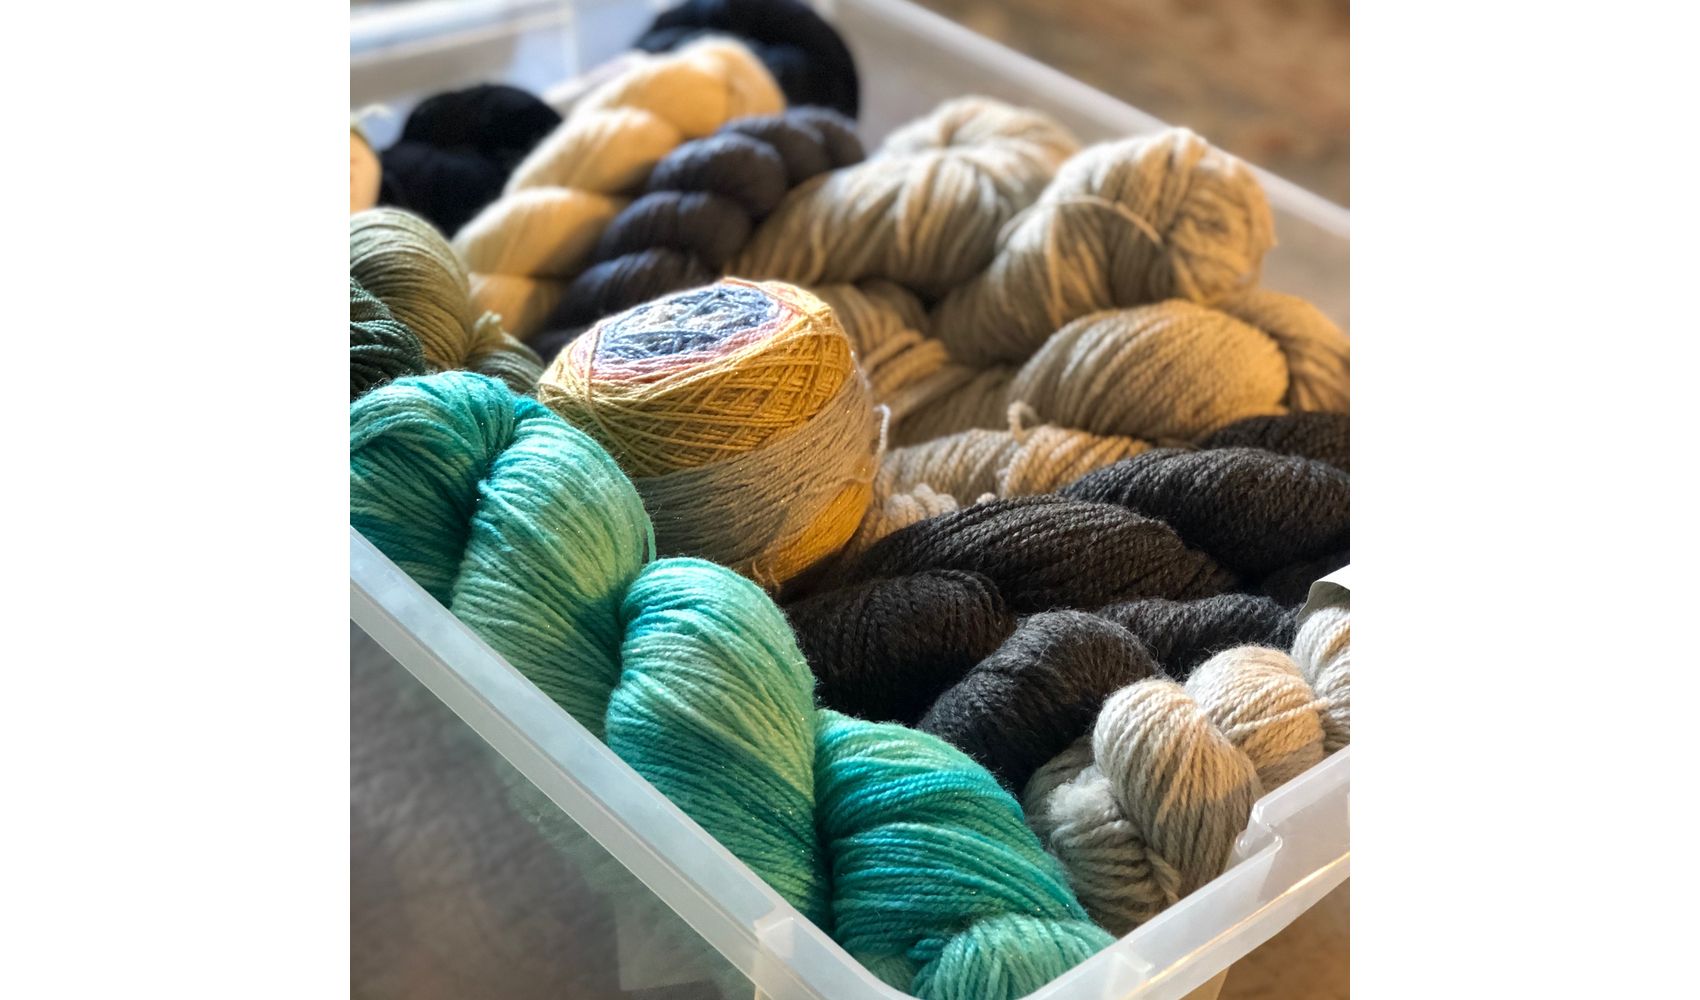
I love tracking my yarn stash on Ravelry. It's such a useful feature, and makes my project planning so easy. I always love finding a pattern I want to make and getting yarn ideas for it right from my stash! This past weekend I was putting some new yarn away in a bin and realized the bin was full of yarn that I hadn't put on Ravelry yet, so it's time for a big stash update. Using my phone and our mobile site's quick photo upload option, the process is so fast and easy that getting this bin of yarn into my Ravelry stash will only take a few minutes. You can check out the process below with the step-by-step screenshots or the video walkthrough at the bottom of this post.
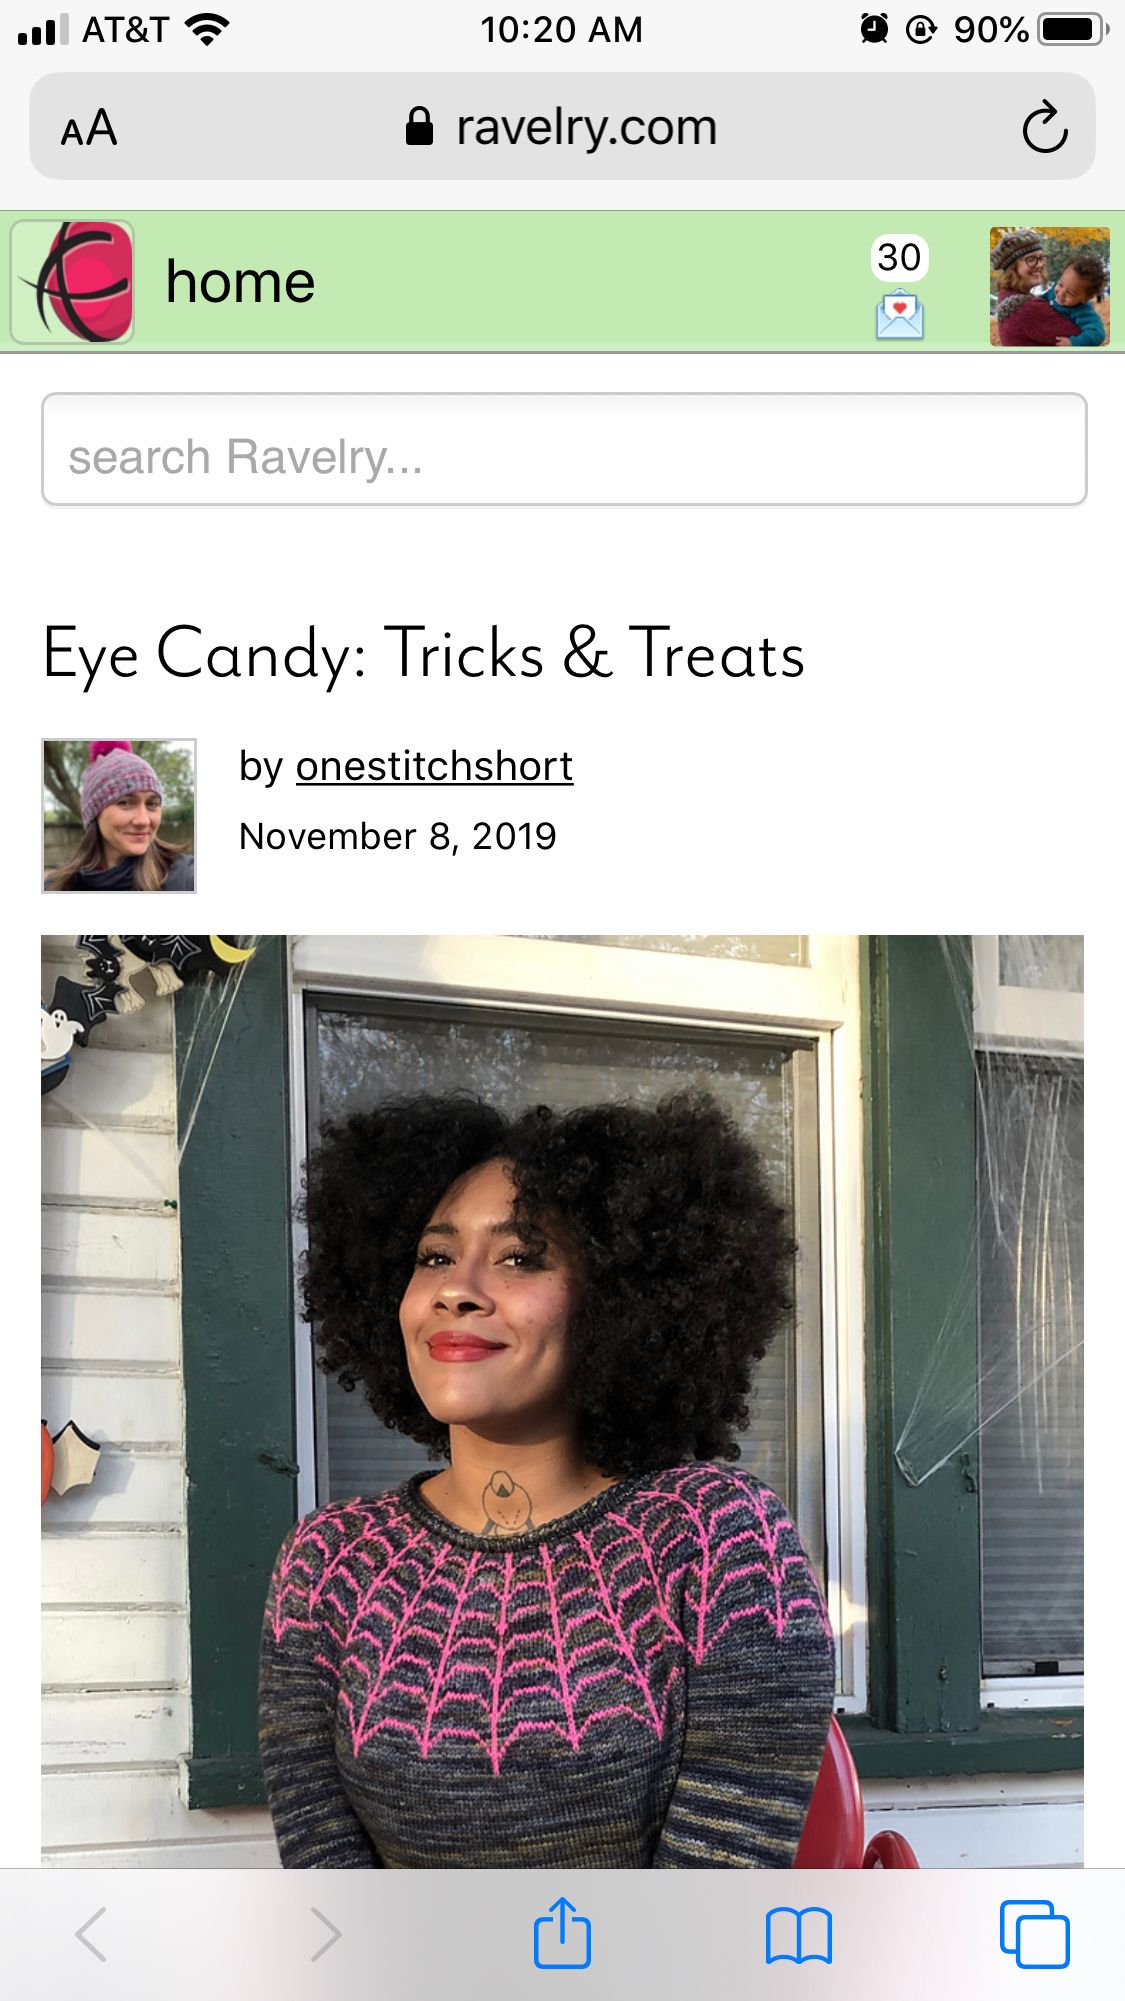
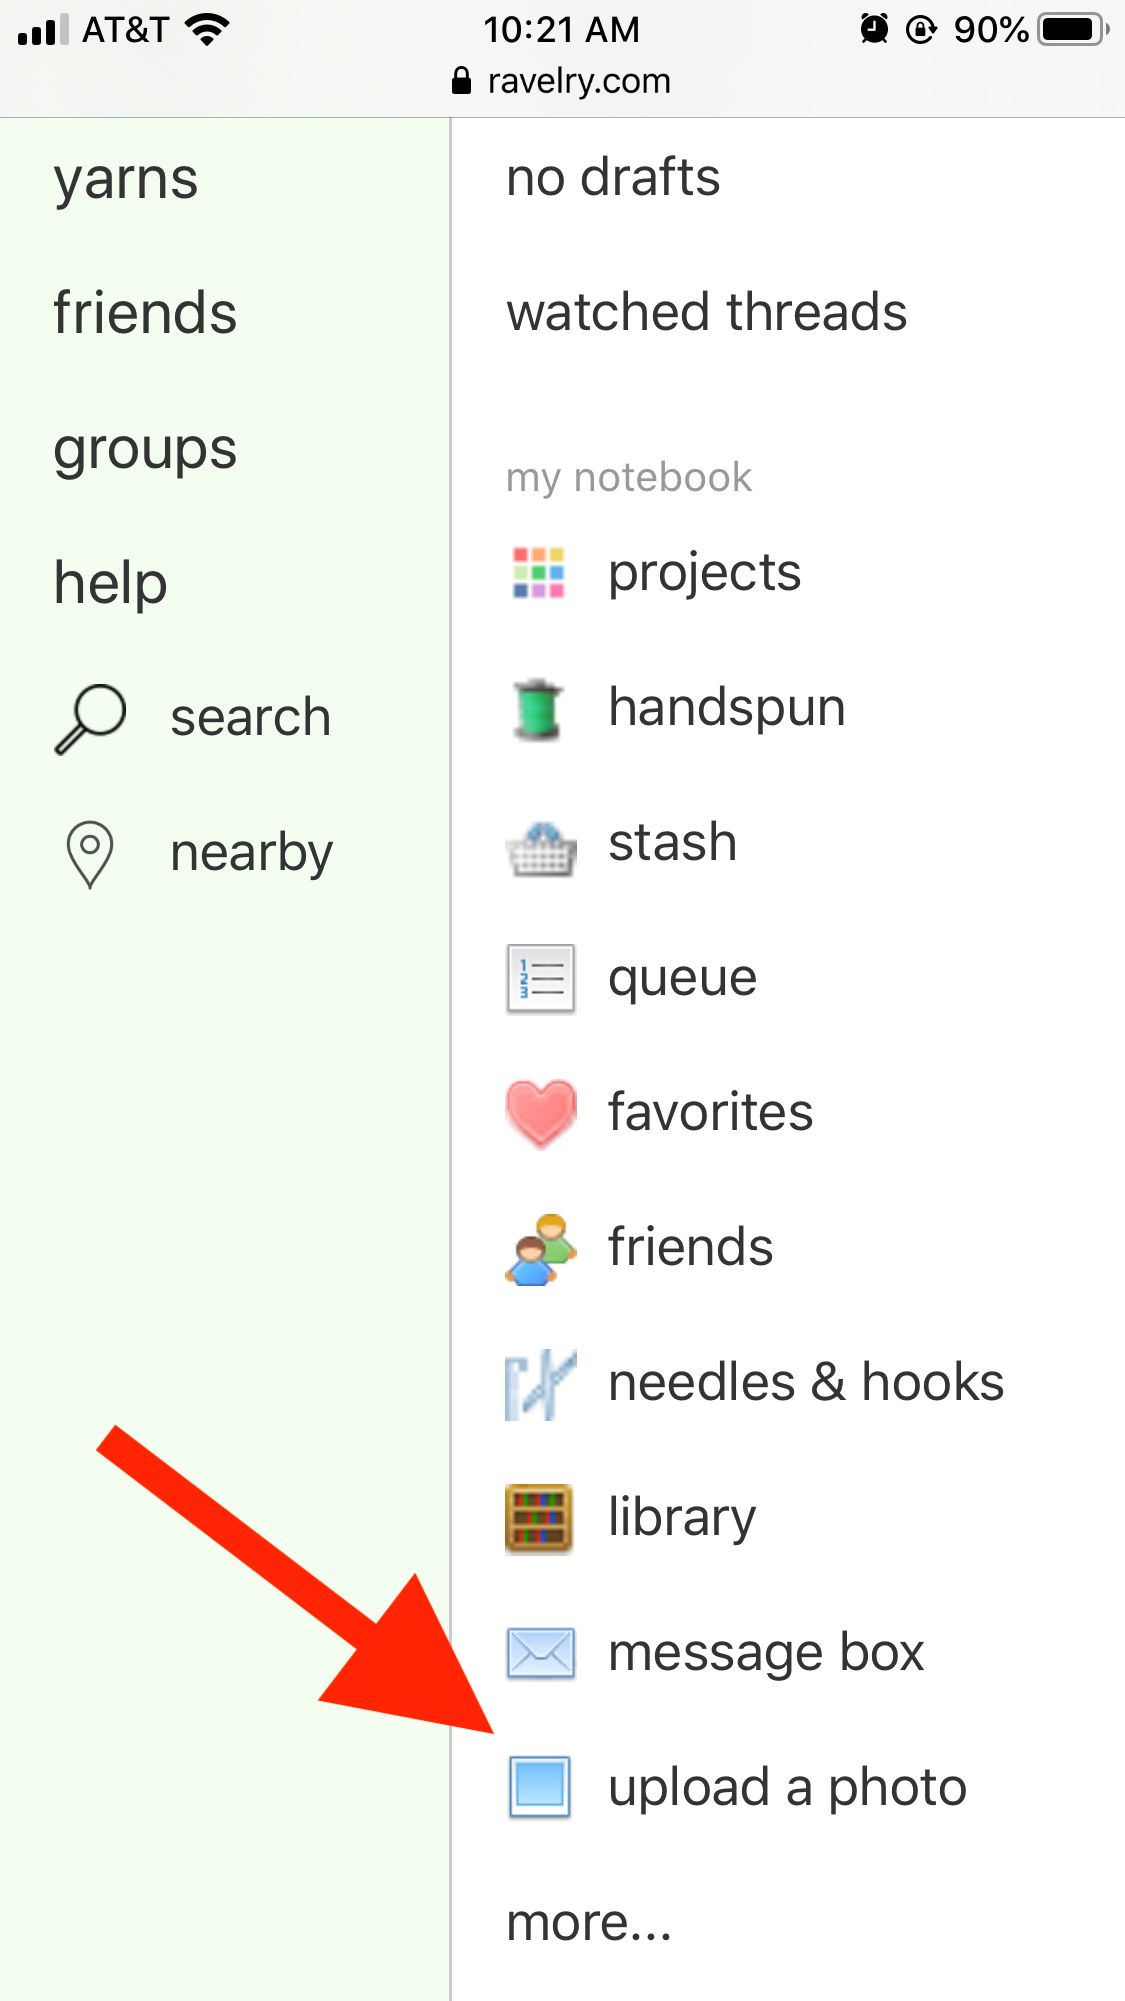
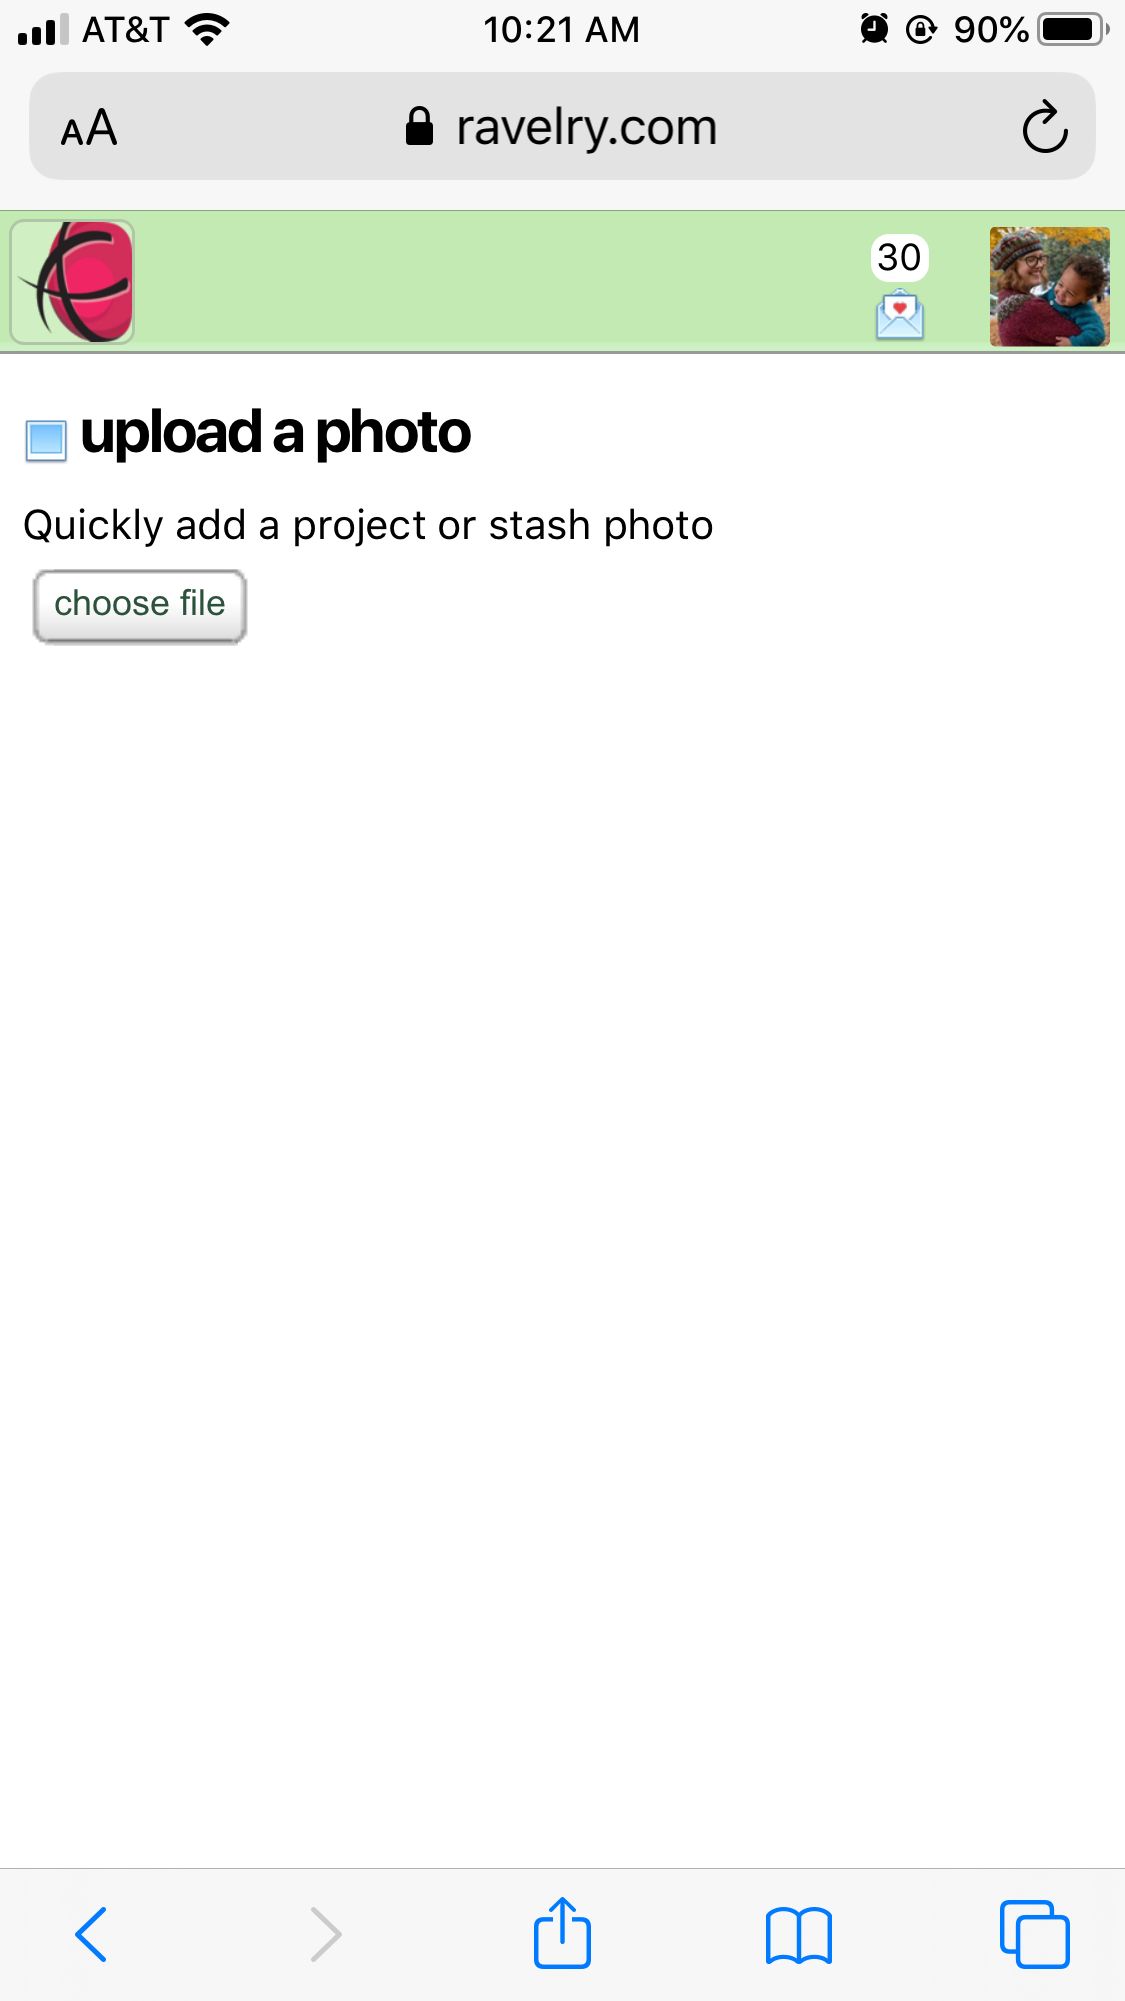
From the home page of the mobile site, click on our logo at the upper left and scroll down to the upload a photo link. From there, you'll be able to choose and upload a photo from your mobile device.
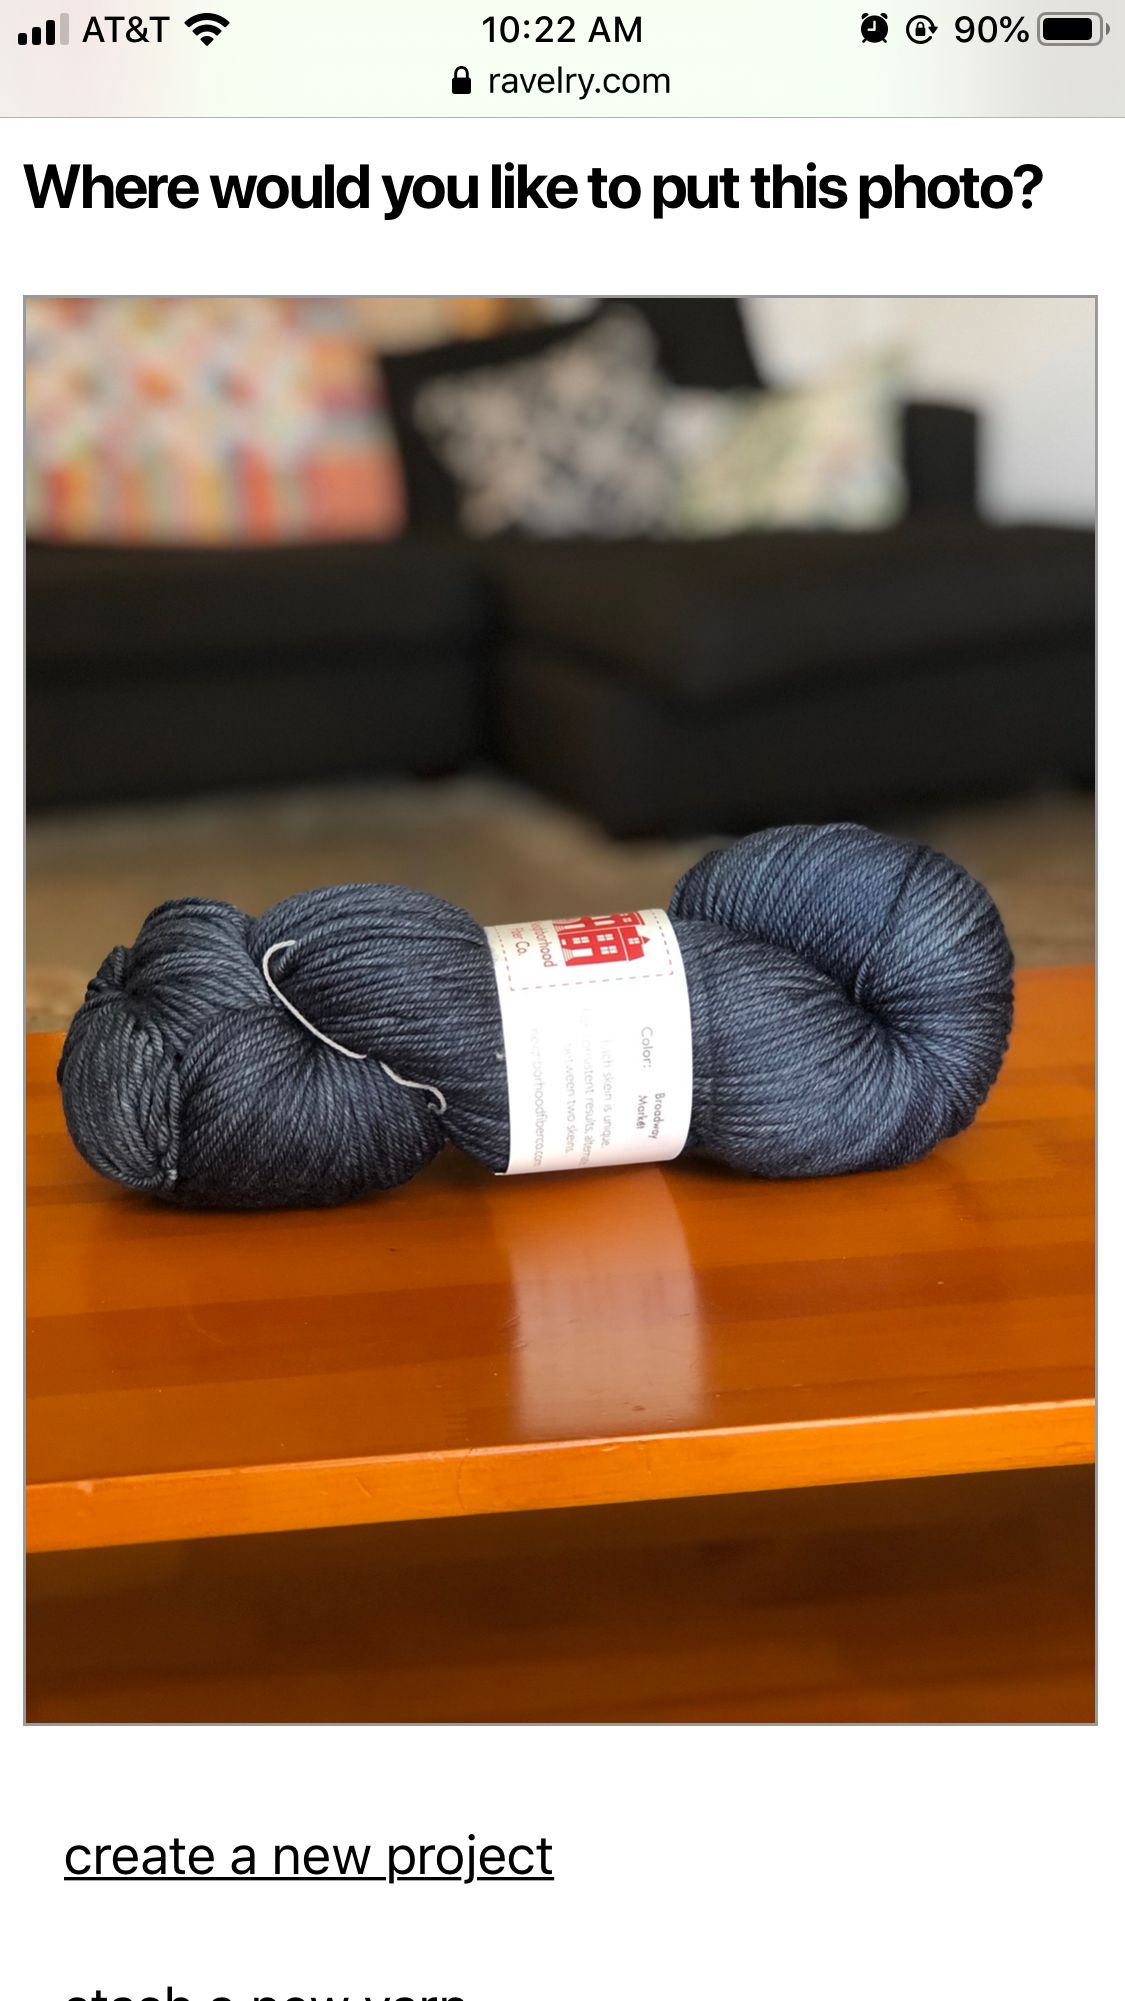
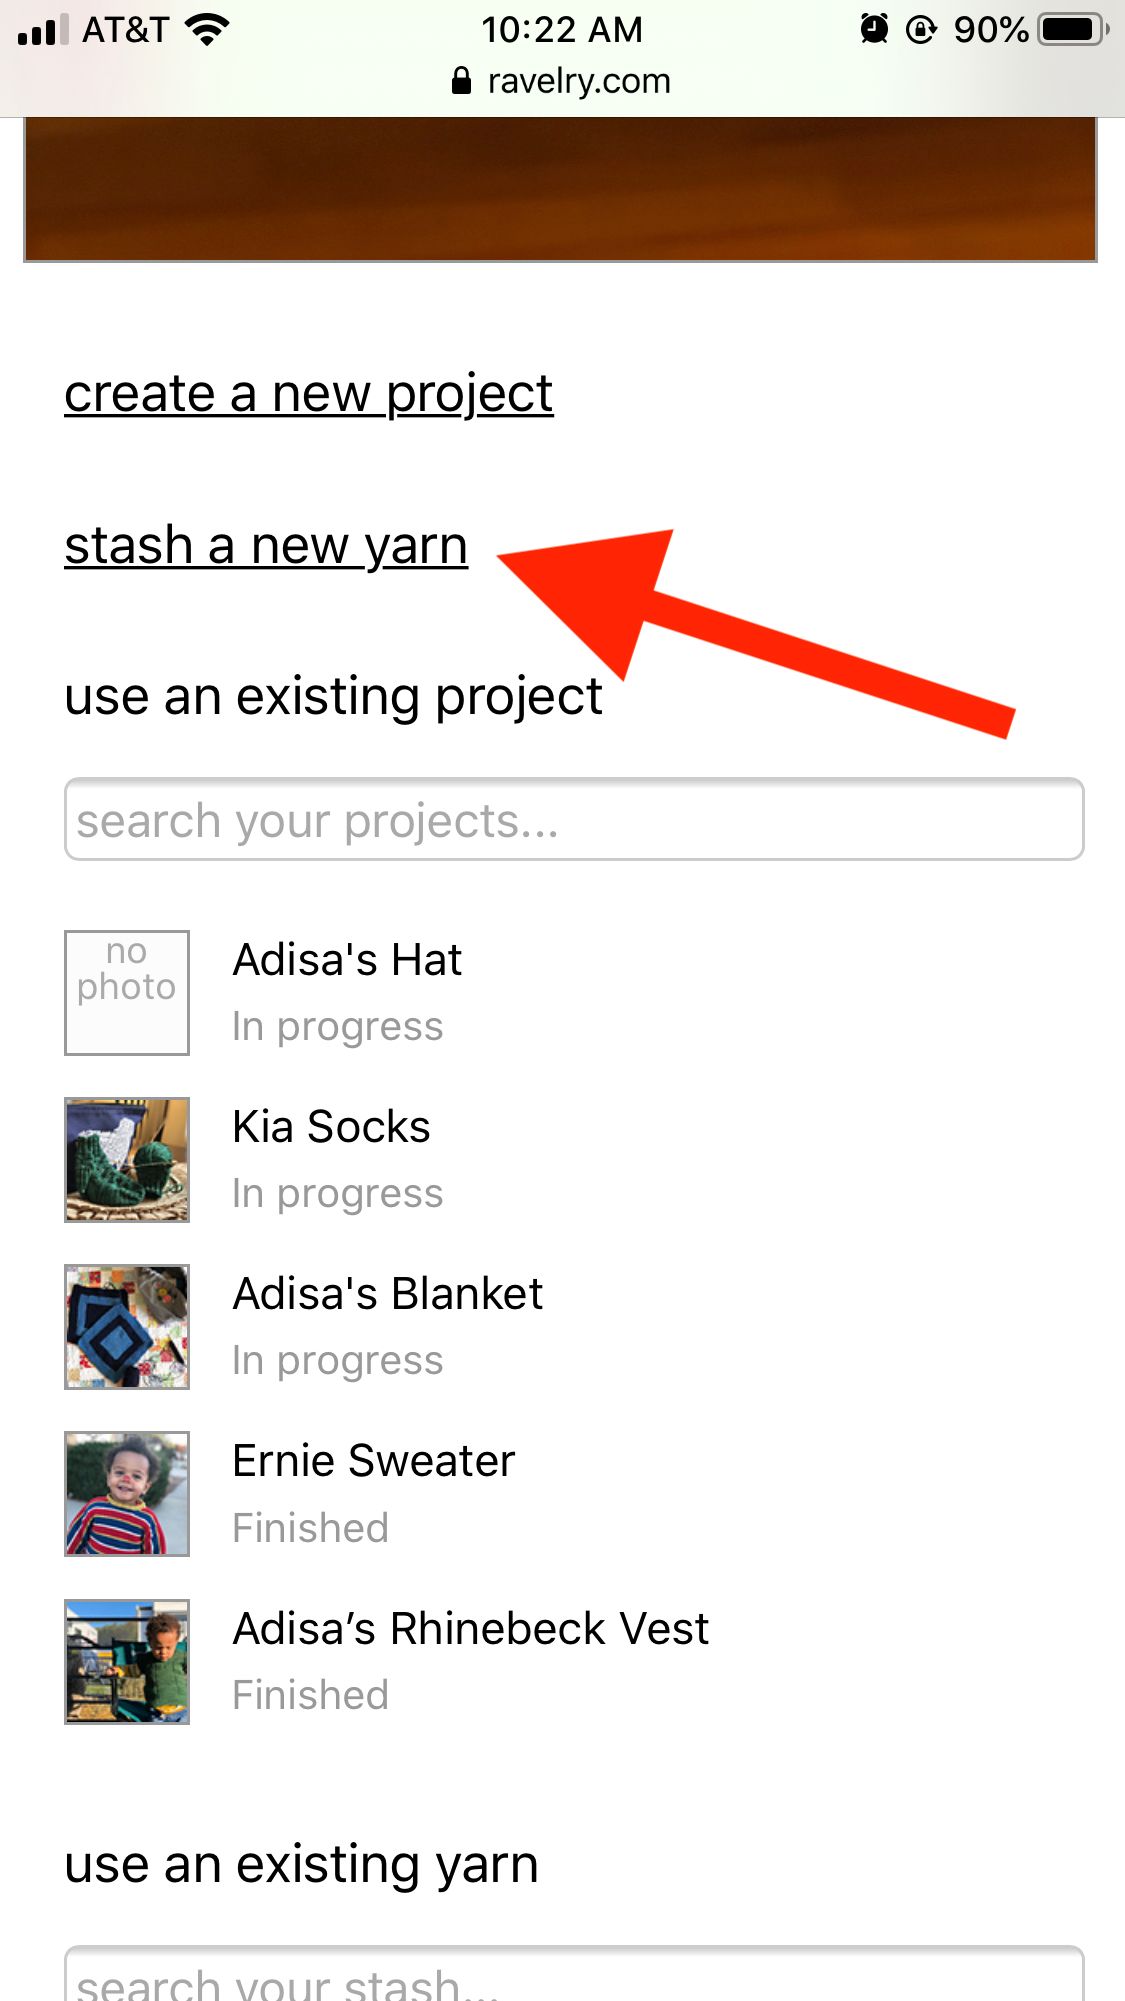
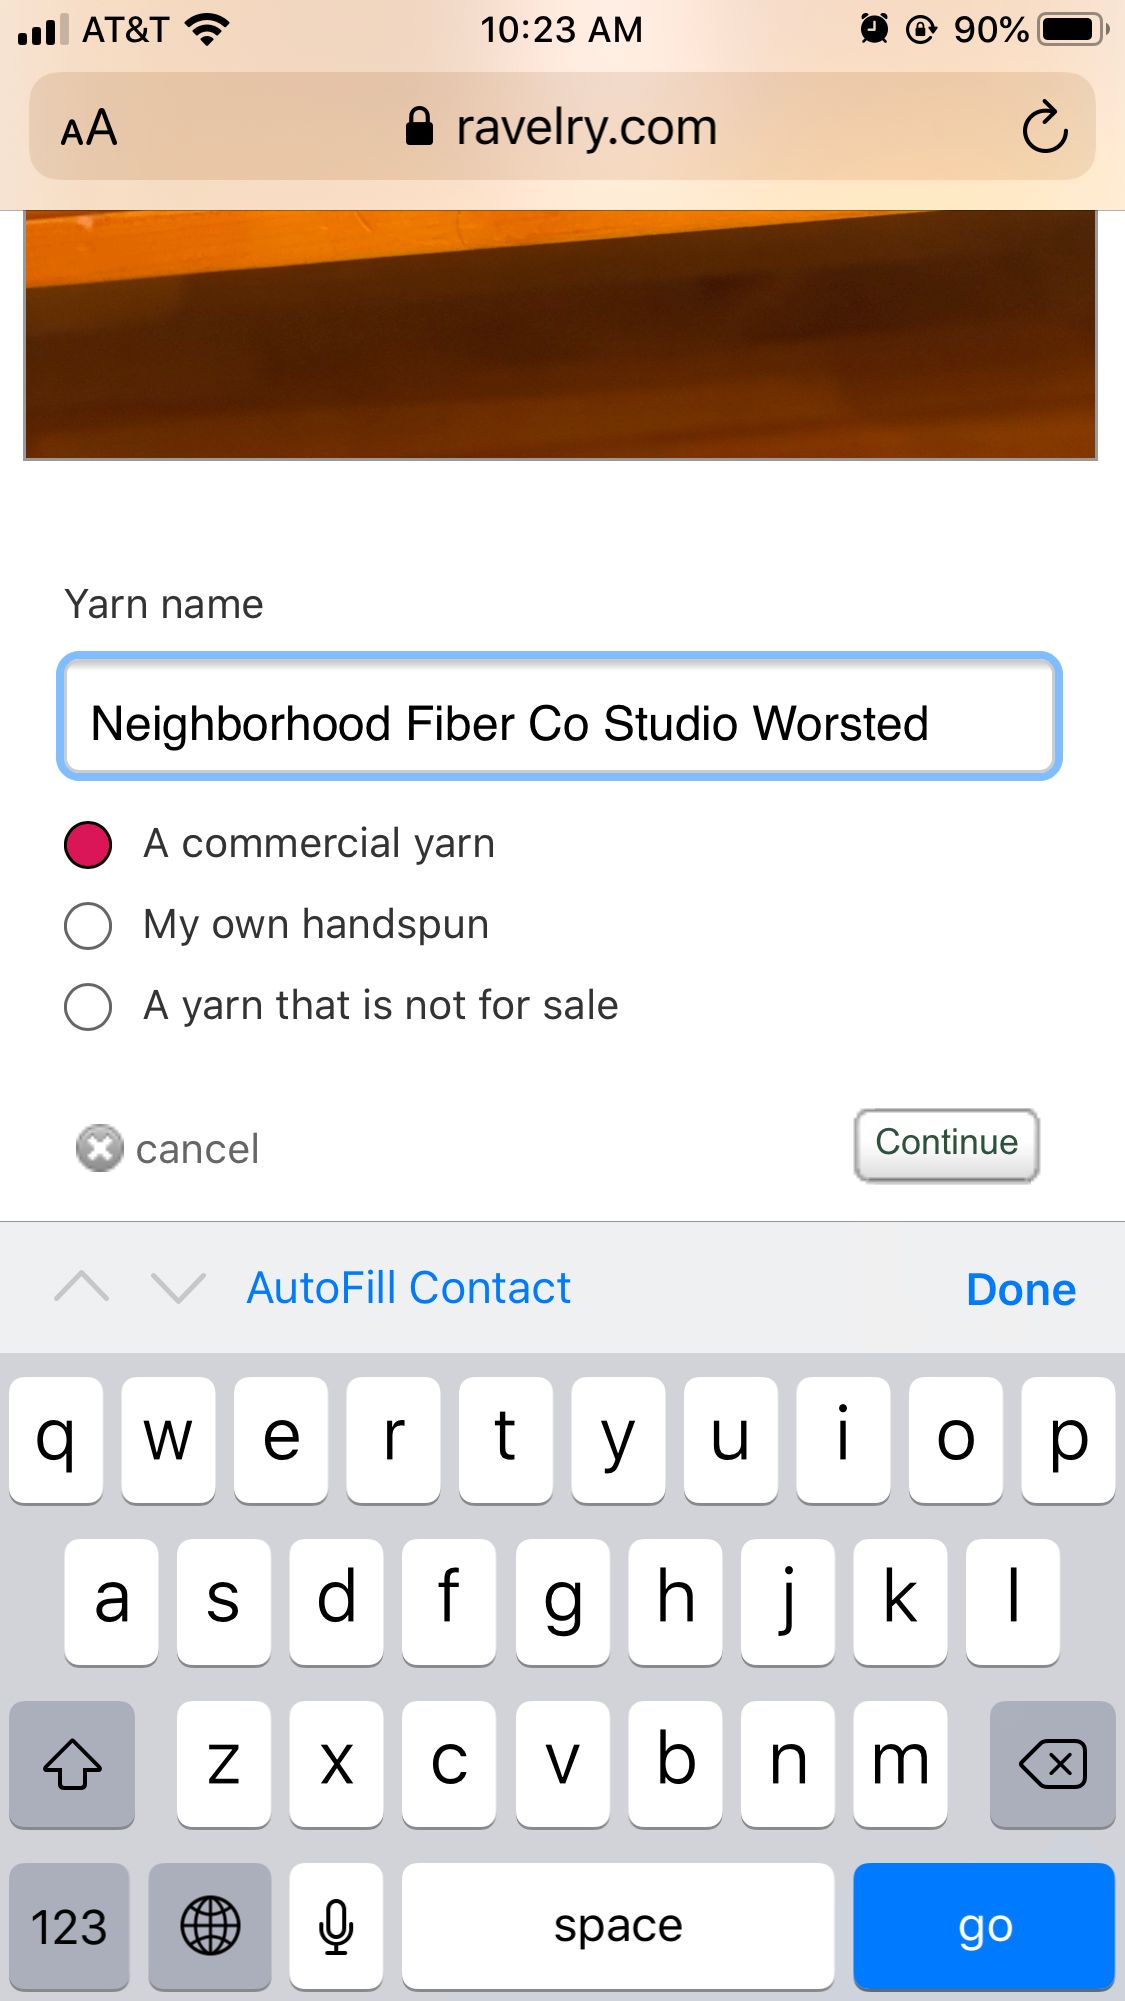
Your photo will appear on the screen once it uploads, and when you scroll down you'll see the option to create a new project or stash entry, or add it to projects or stash that you've already posted to Ravelry. I chose stash a new yarn, and typed in the name of the yarn I'm stashing.
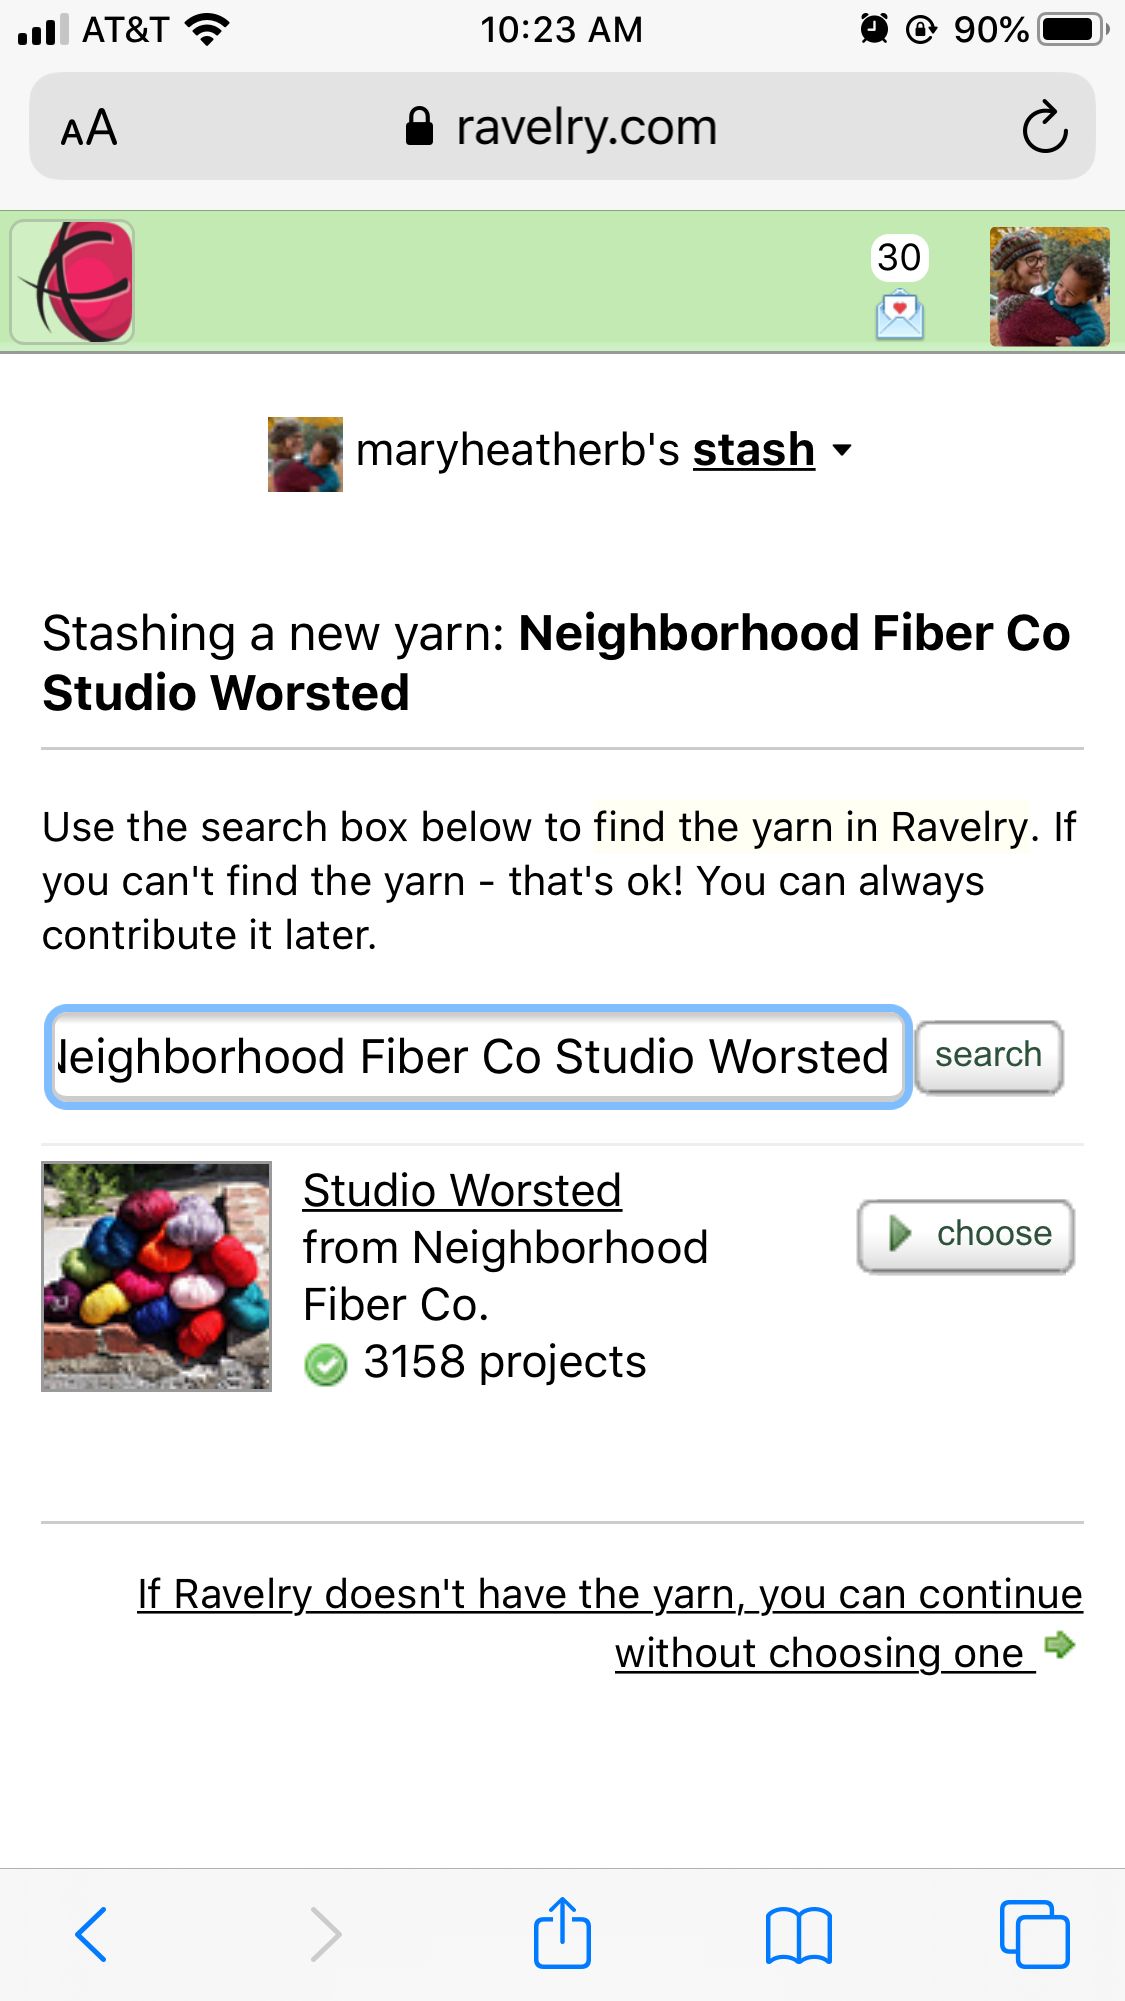
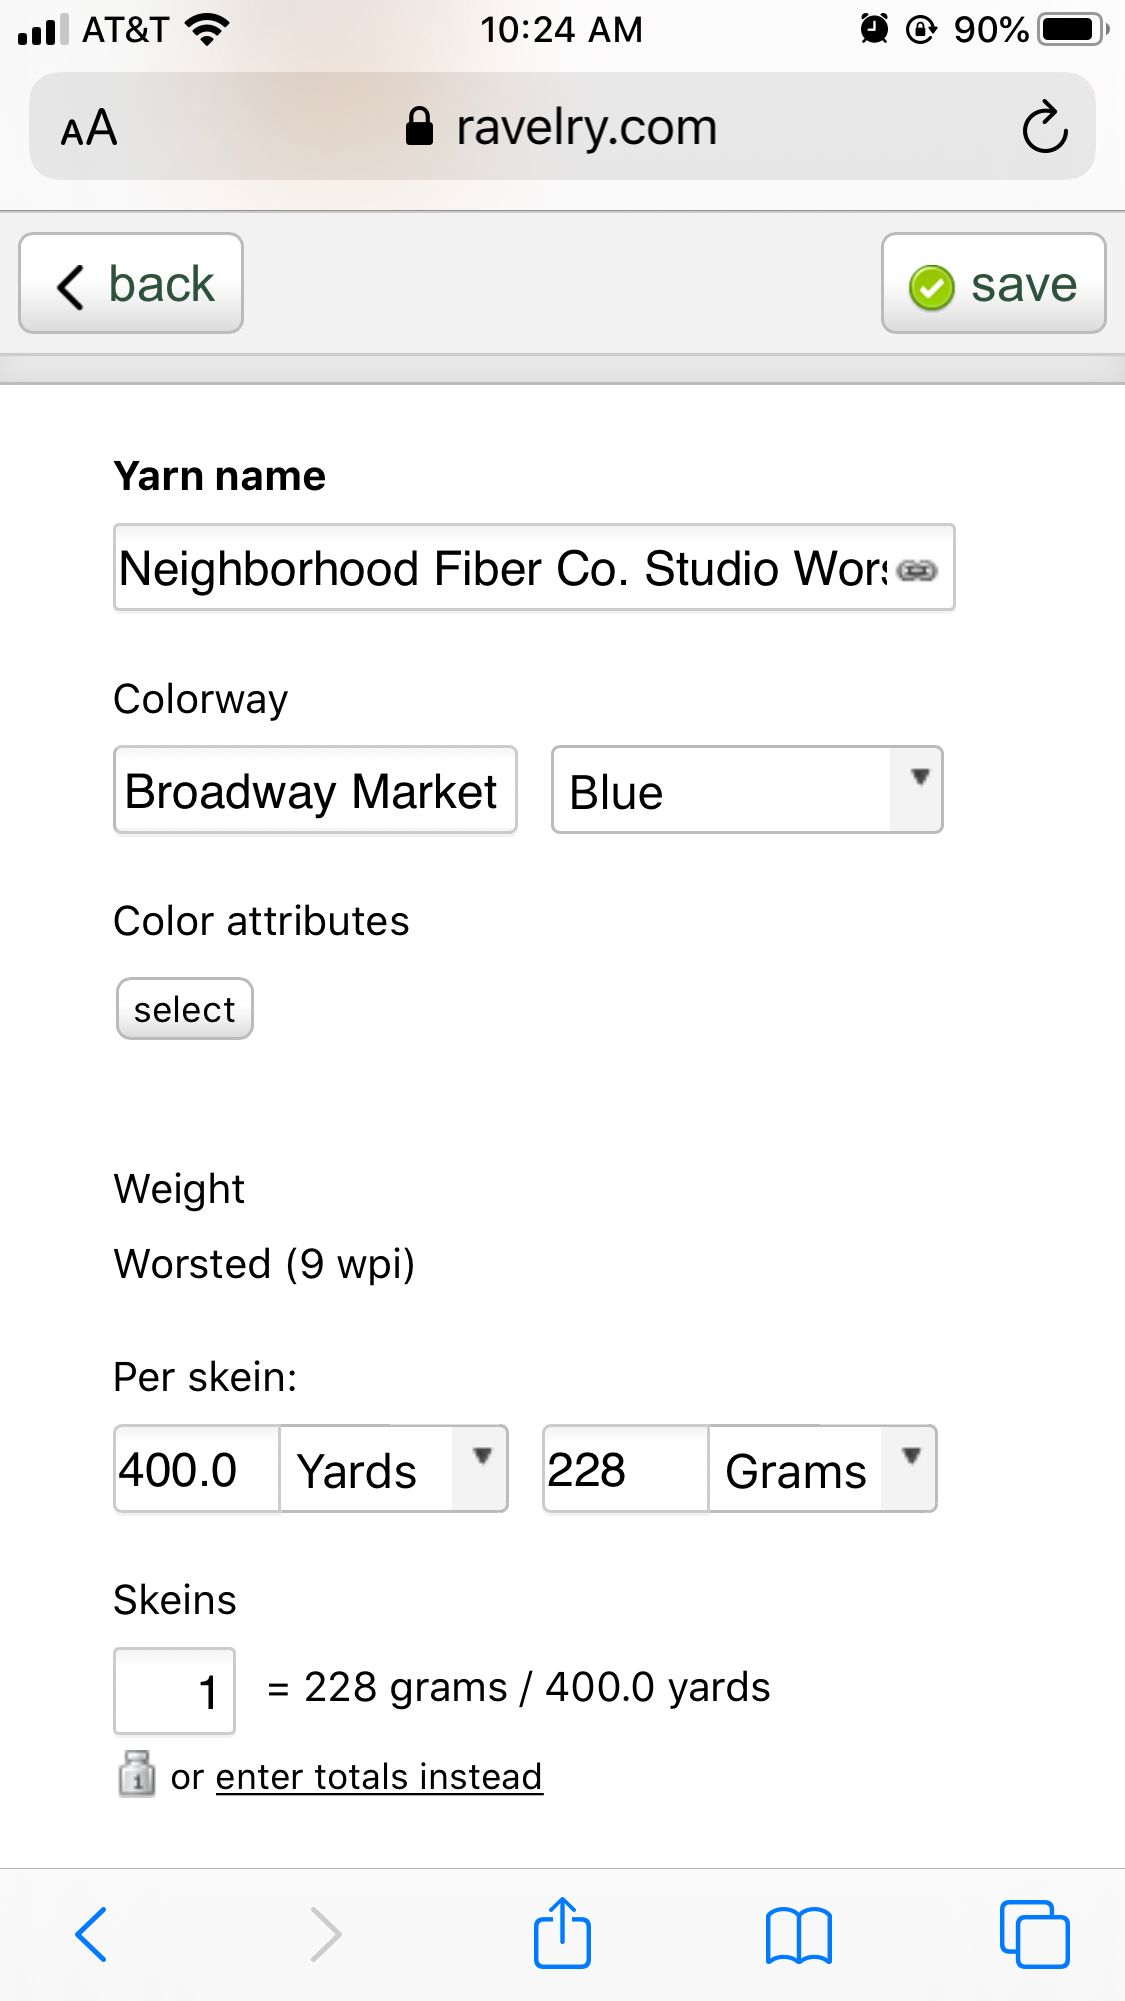
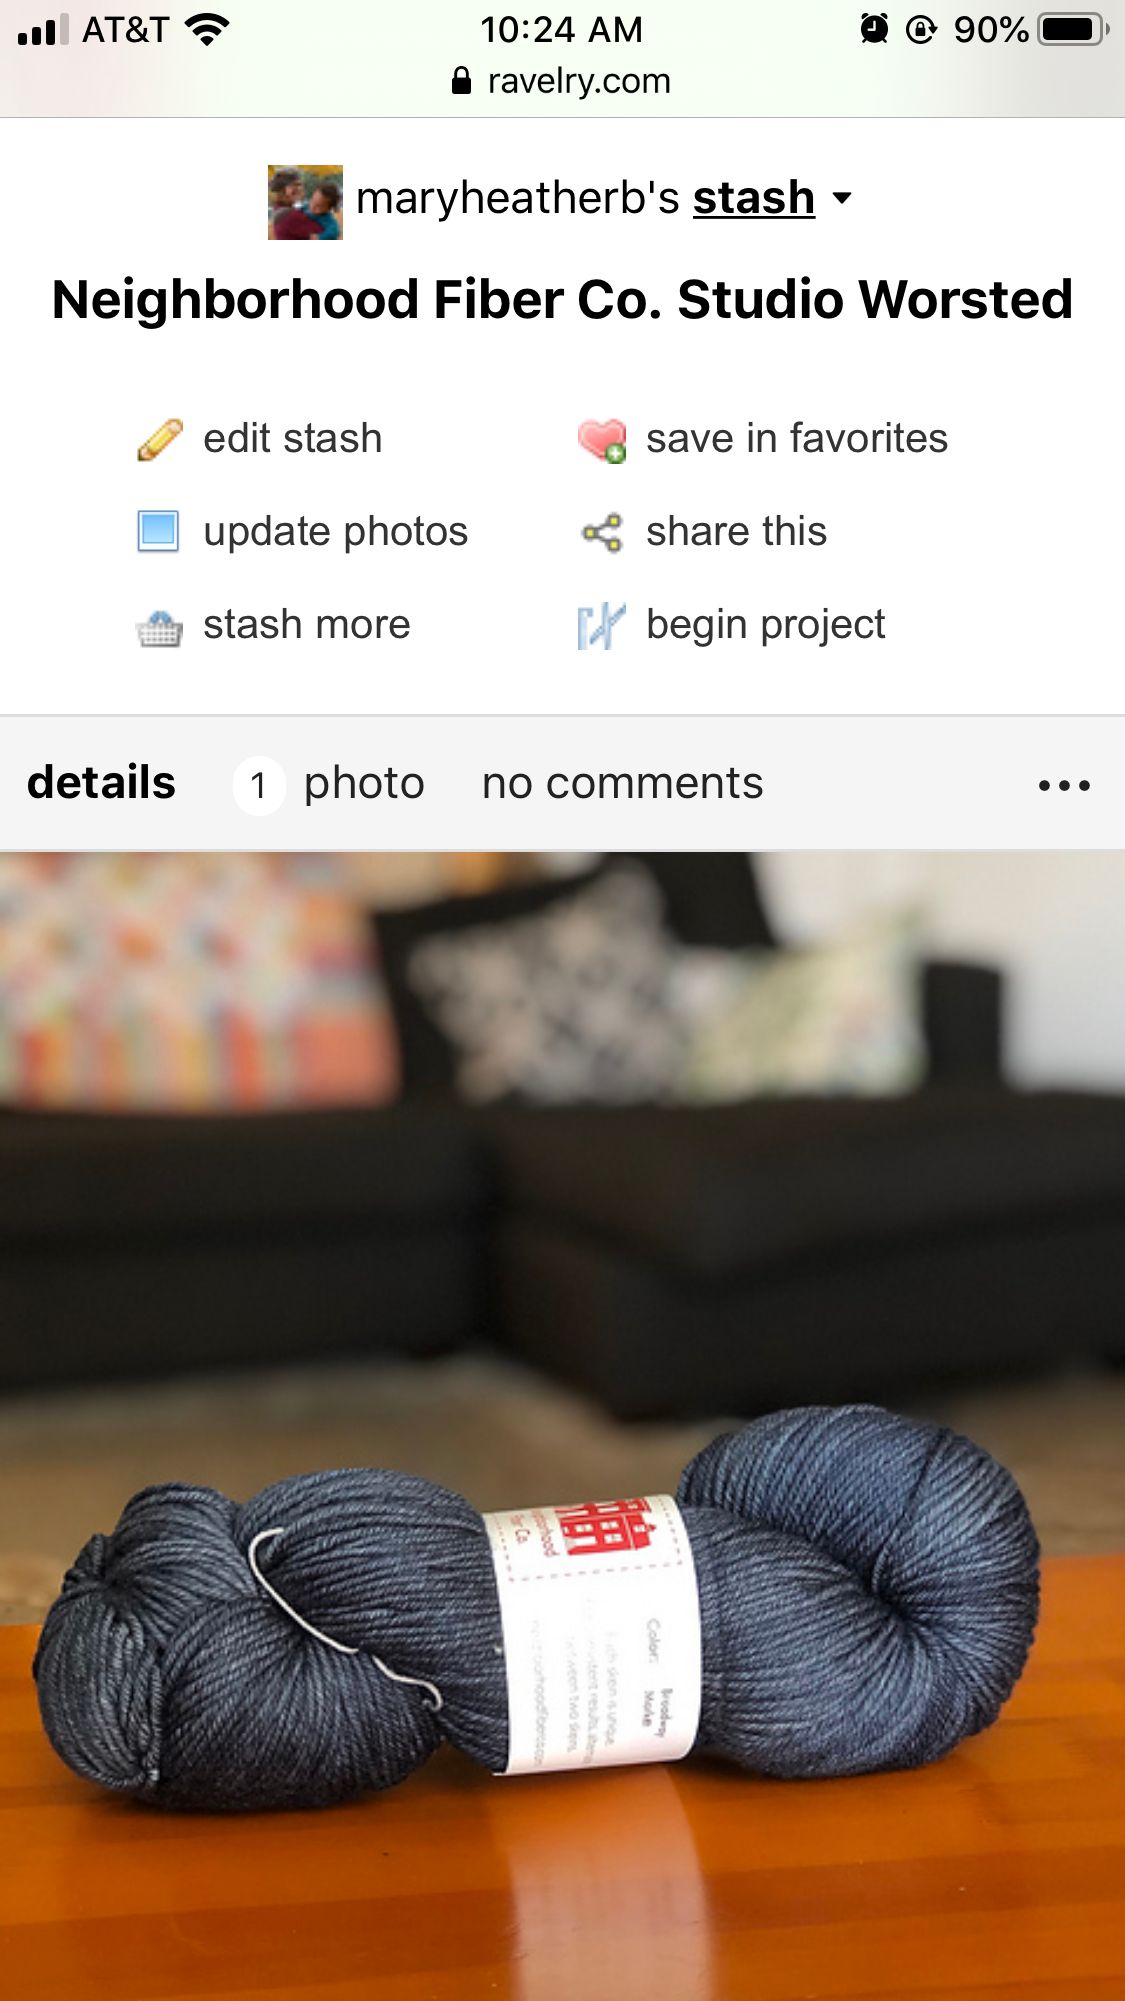
The yarn is in our database and I selected it as the yarn for my stash entry. From there, I simply filled in the colorway and what color it was, and noted how many skeins I have. Those steps are optional but I find them useful in project planning and for when I want to sort my stashed yarn by color. After that, I just saved my entry with the button at the top of the screen - and that's it, my new stash entry is complete!
You can see me walk through this process in the video below. (There's no sound, just a screen recording.) I'm looking forward to adding the rest of that bin!
